
So this is my first DIY blog, but I thought it was simple and practically free, and perfect for the holiday season.
You will need:

scissors
wire(weight doesn't matter)
needle nose pliers
ribbon, or string(and paint-if you want a certain color)
lastly- branches, or twigs
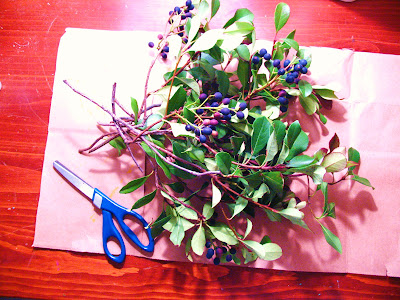
I like to get all of my tools and supplies on the table, and lay everything on some scrap paper(a trader joe's bag is great). Since I didn't have ribbon, and I wanted to make a free DIY project, I choose to dye my string. I was going for a gold color, I mixed the color, added a little water and drenched the string in the paint. Once its been saturated, pull it out and hang it up to dry.

Lay out the wire in the general shape and size of your wreath. The wire is flexible so once you attach everything you can easily reshape it to the exact shape you like. Cut small pieces of the wire and wrap around the main wire. These are so once you get the branches in place, the little place keepers are already there, ready to hold everything in place!

Once you have picked out all of branches you want to use, set them all facing up. The branches I have used have an obvious upper, and under side to the leaf. Knowing this, place all of your branches facing upwards, so the shiney part of the leaf is on the top. The branch will have a natural curve separate the branches into sections, one section is for the branches that curve to the left, the other is for the ones that curve to the right.
Find the longer branches and place them towards the top of the wire, this will be the top of your wreath. The ones with less leaves are nice to use for this top section. Then find the medium branches and layer them on top of the longest ones. With the wire place holders you have already wrapped around the wire, twist these around the branches, if you have a heavier wire like I do, the needle nose pliers will help you twist and secure the stints around the branches. Continue finding and placing the appropriate branches until they meet in the middle.

Finally pull all of the branches together at the top and wrapped the ends with string, but try it with a bow :)

Enjoy!! And please post any photos of ones you make
:)
No comments:
Post a Comment